
Contents:
About the Wireless USB Print Server
Wireless USB Print Server Installation >
Client PC Printer Setup (Additional Installs)
Navigating the Web User Interface
IPP (Internet Printing Protocol)
Product Specifications for Wireless USB Print Server
Wireless USB Print Server
User Guide
Wireless USB Print Server Installation
Prepare for installation
Note: For the most updated information, visit: http://www.usr.com/support
Turn on your desktop or laptop computer. You must be logged into your computer as an administrator in order for the necessary software to be installed properly.
Type your password if you are prompted to do so.
Note: Be sure to find out what letter your CD-ROM drive uses before you begin installing your new product. You may need to know this to properly install your software.
Note: During the Installation procedure, you may be prompted for your Windows Operating system CD-ROM or for your printer manufacturer's CD-ROM. Make sure you have them available in case you need them.
The Wireless USB Print Server is initially set in Infrastructure mode. If you will be establishing a wireless connection to a wireless router, the only security that the print server supports is WEP or WPA-PSK. You may need to modify the security settings of your wireless network accordingly.
Step One: Connect the Wireless USB Print Server
Connect the square end of a USB cable to the USB port on your printer. Connect the thin rectangular end of the USB cable to the USB port on the Print Server. Make sure your printer power cable is plugged in and the printer is turned on.
Connect one end of an Ethernet cable to your wireless or wired router and the other end to the Ethernet port on the Print Server.
Note: The Wireless USB Print Server must be connected using an Ethernet cable for the initial configuration. After the initial configuration, you can establish a wireless connection.
Connect the included power adapter to the power socket on the Wireless USB Print Server. Plug the power adapter into a standard power outlet.
Note to UK Users: Attach the correct power plug to the power adapter.
Step Two: Configure the Wireless USB Print Server
Make sure your computer is turned on. Insert the USRobotics Installation CD-ROM into your CD-ROM drive.
Note: If your CD-ROM does not automatically launch, click Windows Start, Run, type D:\autorun (if your CD-ROM drive uses a different letter, type that letter in place of “D”), and click OK.
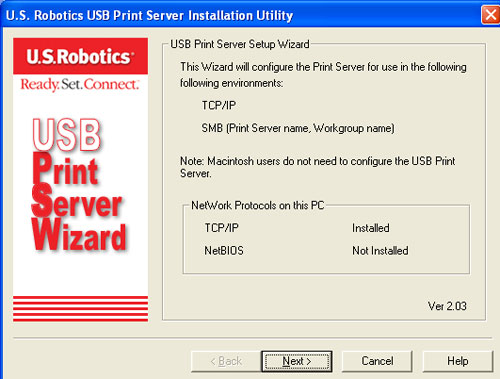
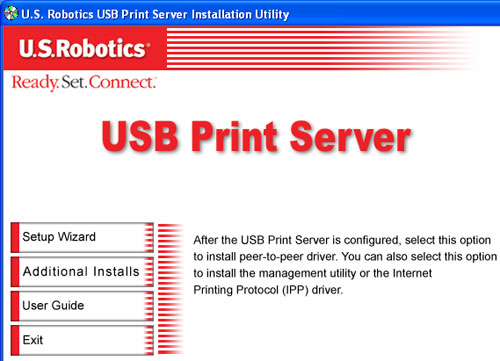
Click Setup Wizard and then click Next.
Note: If you will be establishing a wireless connection to a wireless router, the only security that the print server supports is WEP or WPA-PSK. You may need to modify the security settings of your wireless network accordingly.
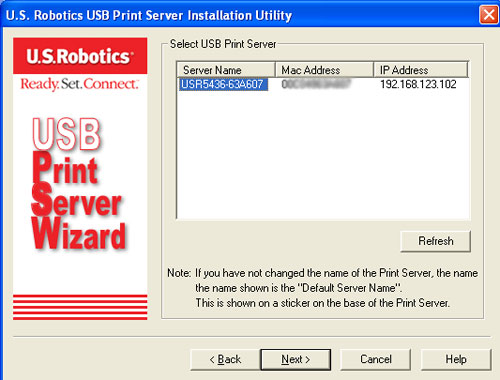
The Wireless USB Print Server will be shown in the list. Select the print server in the list and click Next. If it does not appear in the list, check your physical connections and click Refresh.
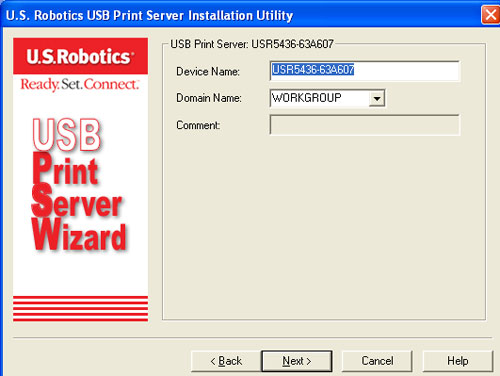
You can change the Device Name, if you want, and enter a Domain Name. When finished, click Next.
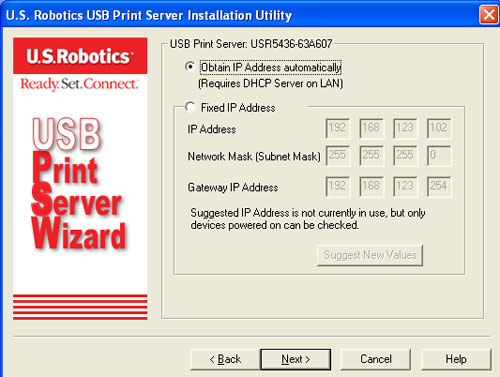
If you have connected the Wireless USB Print Server to a network device that has DHCP capabilities, you can select Obtain IP Address automatically. If your network device does not have DHCP capabilities, you can assign a Fixed IP Address. When finished, click Next.
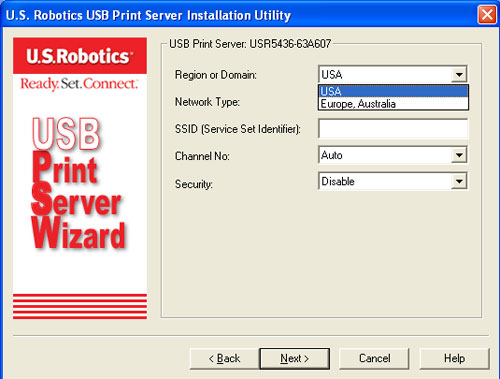
Next you can select the Region or Domain where you will be using the Wireless USB Print Server.
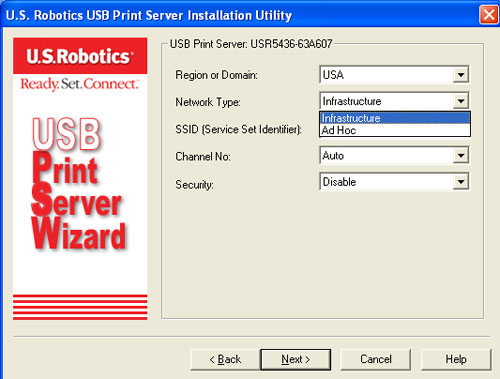
You can then select your Network Type as either Infrastructure or Ad Hoc, depending on if you are using a wireless router or access point or not in your wireless network.
Note: The Wireless USB Print Server is initially set in Infrastructure mode, which is used to connect to an wireless router or access point. If you will be establishing a connection to other wireless clients without using a wireless router or access point, select Ad-hoc as the Network type.
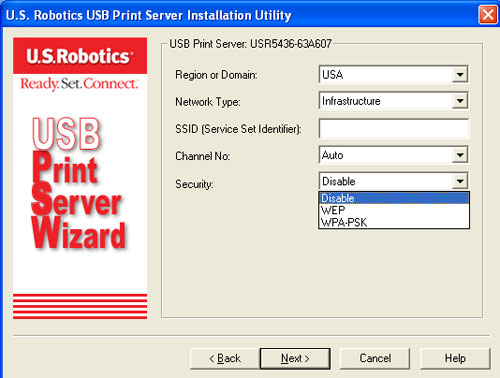
In the SSID field, you should enter the SSID of the wireless router or access point to which you will be connecting the wireless print server. If you selected Ad Hoc for your Network Type, you can select a specific Channel on which to broadcast. If you selected Infrastructure, Auto is the only channel option. For Security, you can select either Disable, WEP, or WPA-PSK, depending on how you have your wireless network set up.
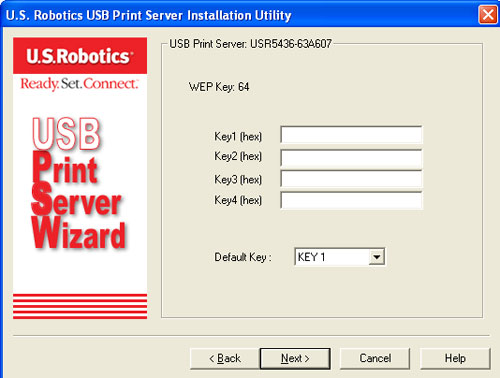
If you select WEP, you will need to pick either Open or Shared for your Authentication and then click Next.

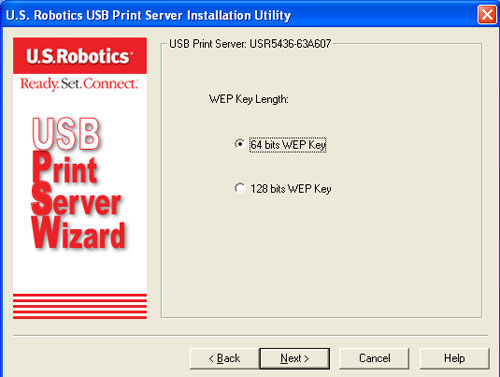
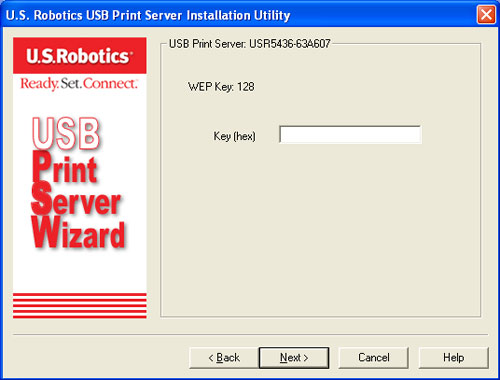
You will then need to select either 64 or 128 bits for your Key Length. Click Next.
You will then need to enter your Key or Keys. Click Next when finished.
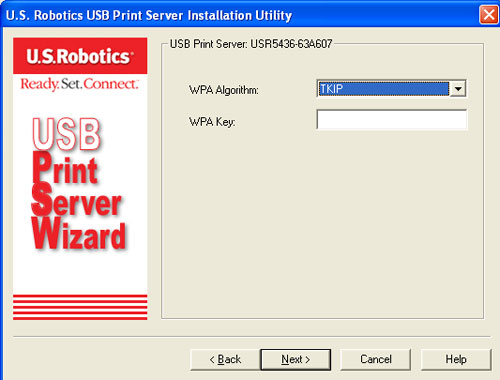
If you select WPA-PSK, you will need to enter the WPA Key on the next screen. This Key should match what you already have in your wireless network.
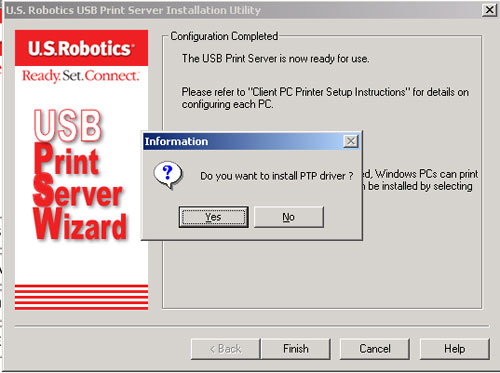
After selecting your Security type and entering any necessary information, your initial configuration is complete and you should click Finish.
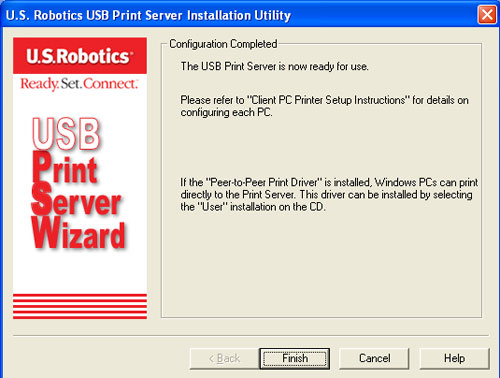
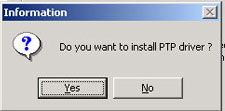
You will then be prompted to install the PTP driver. Click Yes.
Step Three: Install the PTP driver and configure the print driver
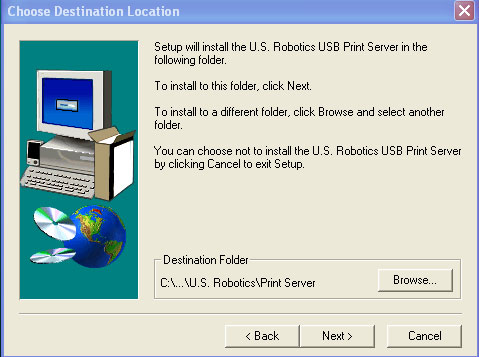
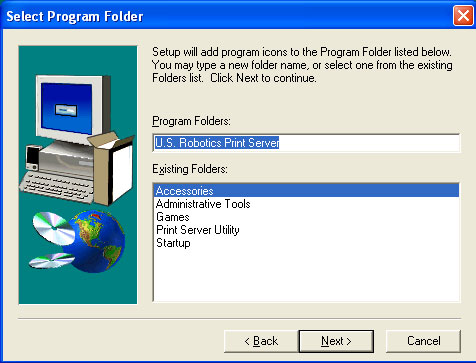
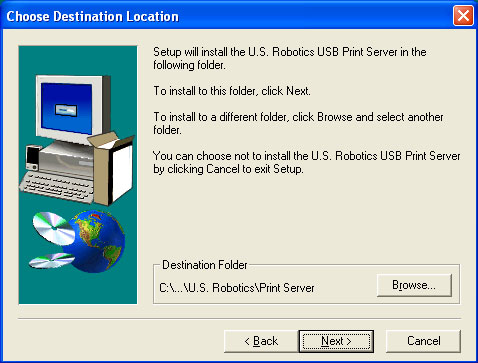
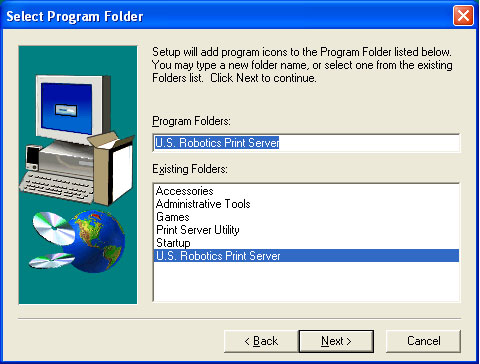
Follow the on-screen instructions to select the location for the PTP driver and to install it.
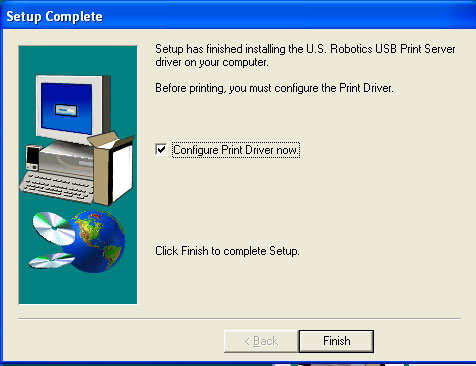
When that is completed, make sure the Configure Print Driver now checkbox is selected and click Finish.
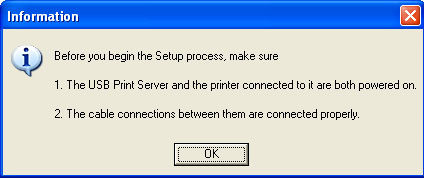
Click OK in the Information screen that appears. It may be necessary to minimize the Print Server Utility screen in order to see the Information screen.
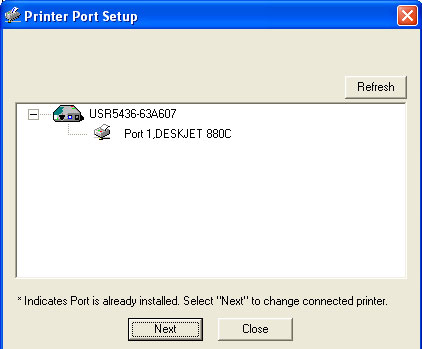
Select the correct printer port in the list for your USB printer and click Next.
Click OK on the message that appears.

If you do not see the correct printer port, click Refresh and it should appear.
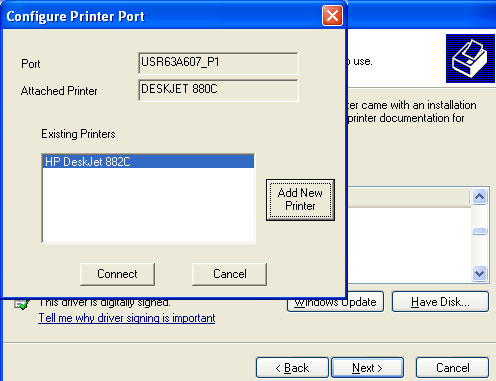
If the printer appears in the Existing Printers list, select it and click Connect.
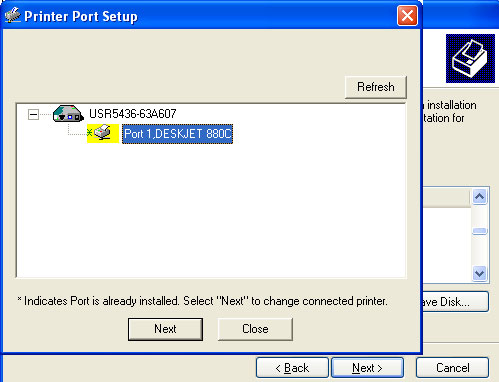
Then click Close to exit the Printer Port Setup.
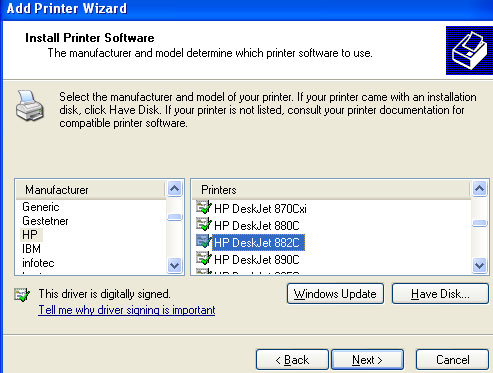
If the printer doesn’t appear, click Add New Printer and follow the on-screen instructions.
After installing the printer, you should now see it in the Existing Printers list. Select the printer and click Connect.
Click Close to exit the Printer Port Setup. Repeat this step on each computer.
Note: If you experience any problems or do not see an asterisk next to the port name in the Printer Port Setup screen, click Refresh. You may need to click this a few times. If it still doesn’t appear, refer to the Troubleshooting section in this guide.
You will now be able to use your USB printer only from this computer. To print a test page, click Windows Start, Control Panel, and then Printers and Faxes (This may be slightly different depending on your operating system). Right-click the printer you just installed, select Properties, and then click Print Test Page. This will verify a valid connection with your printer.
Step Four: Relocate the printer and Wireless USB Print Server
If you want, you can now move your printer and the Wireless USB Print Server to a different location to use the wireless capabilities. Disconnect the USB cable, the Ethernet cable, and the power adapters of the Wireless USB Print Server and your printer. When you have the print server and the printer located where you want them, use the USB cable to connect the print server to the printer and plug in both power adapters. The print server should now establish a wireless connection to your wireless router or access point. Repeat the Print Test Page instructions at the end of Step Three. If you are able to print, your wireless connection is working correctly. If you are not able to print the test page, there is a problem with your wireless connection. Refer to the Troubleshooting section in this guide.
Step Five: Configure additional client computers
To allow other computers on your network to print to the Wireless USB Print Server, you must perform the client computer installation procedure on each computer. Insert the USRobotics Installation CD-ROM into your CD-ROM drive. You may need the Installation CD-ROM that came with your printer.
If you are not configuring any additional computers at this time, click here to skip this step.
Note: If your CD-ROM does not automatically launch, click Windows Start, Run, type D:\autorun (if your CD-ROM drive uses a different letter, type that letter in place of “D”), and click OK.
Click Additional Installs and then click Next.
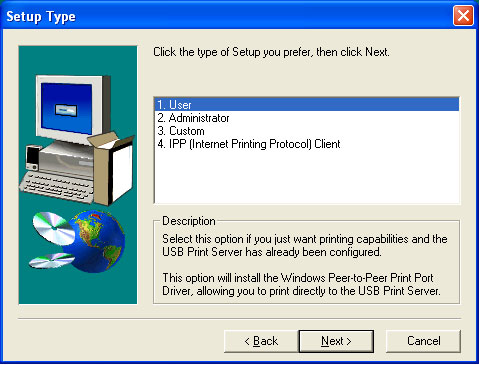
Click User and then follow the on-screen instructions to install the Print Server software.
You will then be prompted to install the PTP driver. Click Yes.
Follow the on-screen instructions to select the location for the PTP driver and to install it.
When that is completed, make sure the Configure Print Driver now checkbox is selected and click Finish.
Click OK in the Information screen that appears. It may be necessary to minimize the Print Server Utility screen in order to see the Information screen.
Select the correct printer port in the list for your USB printer and click Next.
Click OK on the message that appears.
If you do not see the correct printer port, click Refresh and it should appear.
If the printer appears in the Existing Printers list, select it and click Connect.
Then click Close to exit the Printer Port Setup.
If the printer doesn’t appear, click Add New Printer and follow the on-screen instructions.
After installing the printer, you should now see it in the Existing Printers list. Select the printer and click Connect.
Click Close to exit the Printer Port Setup. Repeat this step on each computer.
Repeat this step on each computer.
Note: If you experience any problems or do not see an asterisk next to the port name in the Printer Port Setup screen, click Refresh. You may need to click this a few times. If it still doesn’t appear, refer to the Troubleshooting section in this guide.
For more information about client computers, refer to the Client PC Printer Setup chapter in this guide.
Congratulations! The installation procedure is now complete. If you experience any problems, refer to the Troubleshooting section in this guide.
To print out a diagnostic page with the setting information for the Wireless USB Print Server, press and hold the Diagnostic button for two (2) seconds. You might want to keep this for future reference.
We are constantly striving to provide users with the most helpful information. For the most updated configuration and troubleshooting information, visit the USRobotics Web site at http://www.usr.com/support
Register your product
Launch a Web browser and register your product at http://www.usr.com/productreg
![]()