Using the USR5461 as a wireless bridge
Note: Because the WDS (Wireless Distribution System) used in wireless bridging has not yet been certified by the Wi-Fi Alliance, different manufacturer's implementations of it may not be compatible with the U.S. Robotics implementation. While you may be able to make it work, U.S. Robotics cannot guarantee the operability of cross-vendor bridged networks.Before you begin, you will need the following pieces of information:
The DHCP range of the wireless router (or router attached to the access point) you wish to bridge to
The Wireless MAC address of the router/AP you wish to bridge to (Note: wireless routers have different MAC addresses for wired and wireless connections; make sure you use the right one)
Launch your Web browser. In the location or address line, type the address of the router's Web User Interface and press Enter.
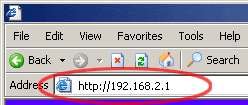
Note: If you have modified your router's IP address, enter the new IP address instead of 192.168.2.1
When the user name and password window appears, type in the user name and the password you created. Click OK to load the router's setup page.
Note: You will not be prompted to login the first time you connect to the MAXg Router's Web User Interface. During the Setup Wizard procedure, you will be prompted to create a user name and password to log in to the router. If you create a user name and password, you will nedd to use these whenever you want to log in to the Wireless MAXg router. The user name and password are case sensitive.
Click Wireless in the main menu.
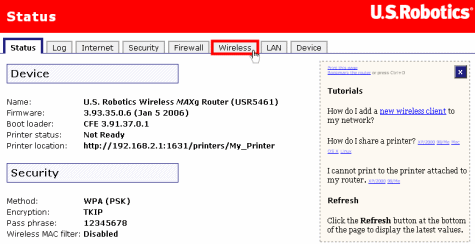
- In the Bridge Mode section, select the box labeled Bridge Mode.

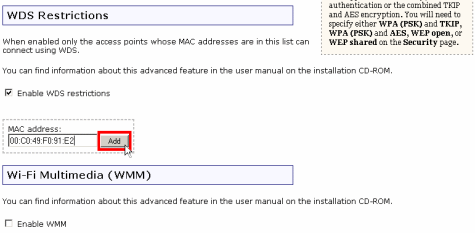
- In the WDS Restrictions section, select Enable WDS restrictions.
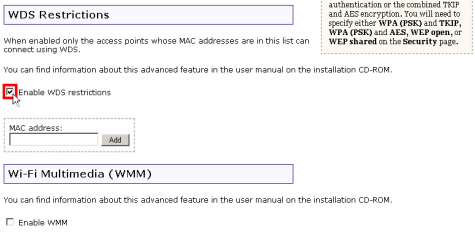
- In the MAC address field, type the wireless MAC address of the device you wish to bridge to. Click Add.
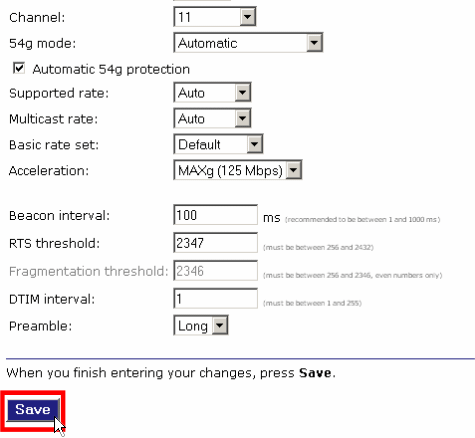
Click Save. When prompted, click Continue button to return to the Wireless page.
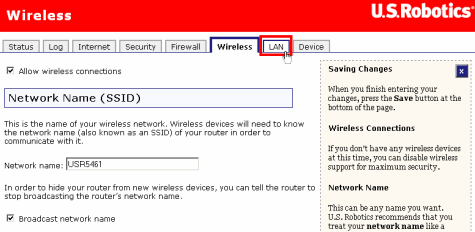
Click LAN in the main menu.
- In the IP Address section, you will need to change the IP address of your router to something that is on the same subnet as the router you wish to bridge to, but outside the range of addresses served by it's DHCP server function (for example, if you were trying to bridge to another USR5461 with the default DHCP range of 192.168.2.2 - 192.168.2.31, you could make the IP address of your bridged router 192.168.2.32).
Note: some devices may have a DHCP range that spans their entire subnet. In this case, you will need to adjust the range to allow you to give your bridged router an IP address outside the range.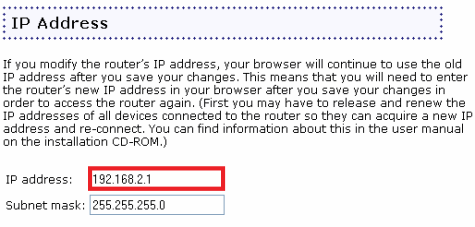
- In the DHCP Server section, click the box labeled DCHP server.

- Click Save. Once the router reboots, it will function as a bridge.
